Creating Partners (and their associated routes)
Upon initial setup, an entry must be created in the Dashboard for each partner project that has been onboarded using the API. The Partners menu allows for viewing, and filtering of trading partner entries, as well as the creation of new partners and their associated routes.
For each partner entry, the following info is made available:
-
Partner name (this will be the name that you provide when creating a partner entry)
-
ISA ID: this identifies sender and receiver information in the form of an ID. The is sometimes referred to as the EDI ID.
Steps
- From the Customers menu, use the
button create an entry.
- Provide a name for the partner entry.
- Create routes for this partner.
This will display a route repository, which contains a list of all the deployed Clarify Projects where routes are stored.
- Select from the Template Project you wish to create the new partner/route relationship. For example, you may be looking for an 810 template.
- Once the Project has been selected, all associated routes are
displayed.

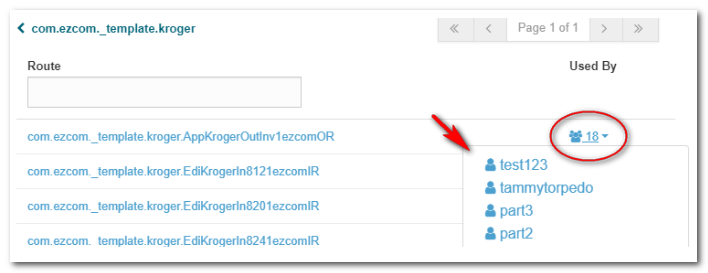
You can also see the number of Partner Routes using the Template Project Route”

- Select the route. This will be used as the template for your partner entry.
Route names and values are entered in the preceding screens. Required fields
and conventions apply. (See the Using the Onboarding API technical
memo for more info).
Once you override one or more settings in a route, it becomes customized and any changes in the default route in the repository will no longer affect the customized route(s).
- When finished, click Done. This returns you to the Partner Routes
menu. From here you can create folders, create more routes, and add those
routes to folders. This is mainly for organizational purposes.
Note: In order to add selected routes to a folder, you must select a partner first. This is shown in the example below.